Project: Skeleton String Art
Oct 29, 2021A simple art project to learn the skull.
Recently, I was asked to decorate a music studio for Halloween. As I sat at the desk creating Kleenex ghosts by wrapping elastic bands around a stuffed 'head' and drawing jack 'o lantern faces onto orange construction paper, I was reminded of years of making the same craft projects with my children. The thought occurred to me that we learn by example, and that making such simple seasonal projects with children is part of developing a love of creativity in the next generation.
Charla is known for saying, 'If you want to draw portraits, study your subject -- human anatomy." One fun way to do this -- with or without your children -- is skeleton string art.
HOW TO MAKE A STRING ART SKULL:
01 Paint a board black.
02 Copy an image of a skull and place it onto the board.
03 Outline the shape of the skull, the eye sockets, the nose, and the mouth with a chalk pen.
04 Lightly hammer nails into the board. Put your nails roughly one inch apart and hammer them into uniform lengths without letting the nails pierce the back of the board.
05 When the nails are in place, rip off the paper skull.
06 Tie one end of your string to a nail on the outer line of the drawn skull.
07 First, follow the nails with your string to outline the head. You will want to do the same with the eyes, nose, and mouth.
08 Next comes the fun part: starting at the bottom of the skull, wrap the string in a zig-zag pattern between the nails. Switch directions often, and make sure to use both vertical and horizontal lines.
You will repeat this process in the middle and again for the top of the skull. Tie your string off at the last nail, and your art is complete!
"A mask tells us more than a face."
- Oscar Wilde
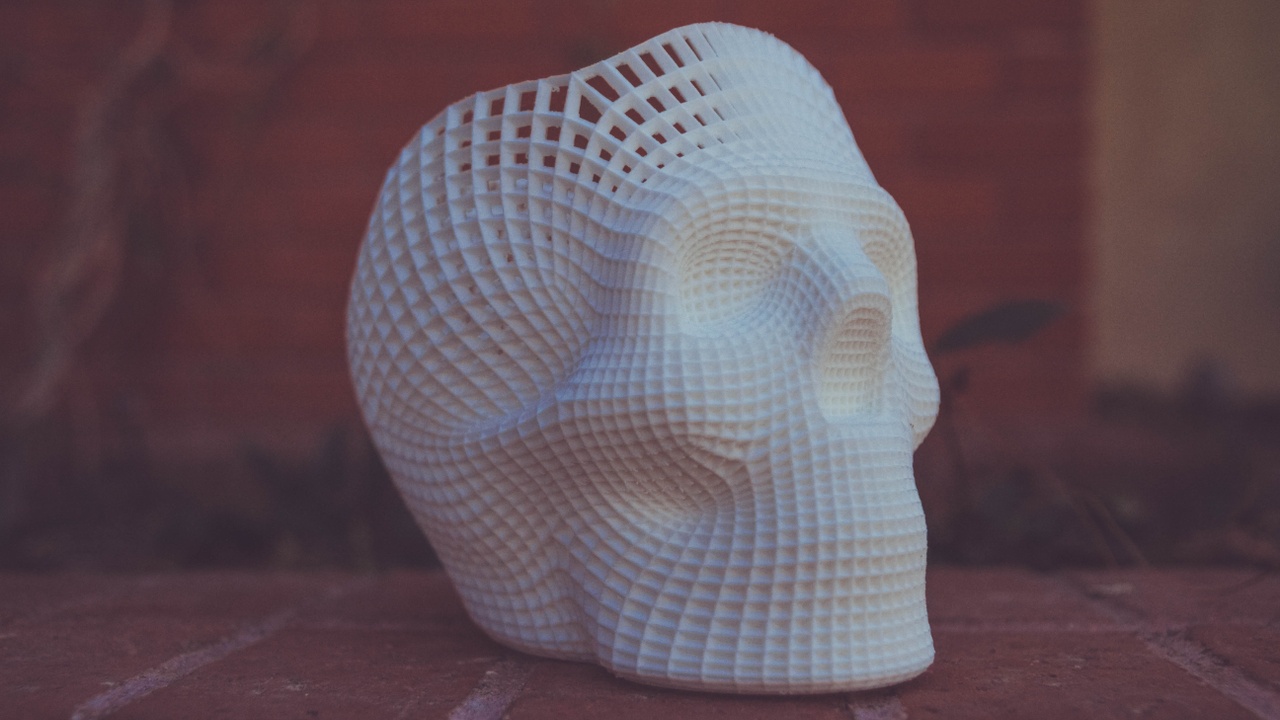
Cover image: Image by Neonbrand
Creativity awaits!
START CREATING YOUR BEST WORK TODAY
Want art inspiration right in your inbox?
Get updates like this blog post, via our newsletter, by signing up here.
We hate SPAM. We will never sell your information, for any reason.

